Installing a Hard Drive - How to Install a Hard Drive
Installing a hard drive only takes a few simple steps - let us show you how. Learn how to install a hard drive today with this full picture guide.
In this guide we shall be installing a hard disk drive (HDD) - The steps for installing a solid state drive (SSD) are the same since they both have the same SATA power and data connectors.
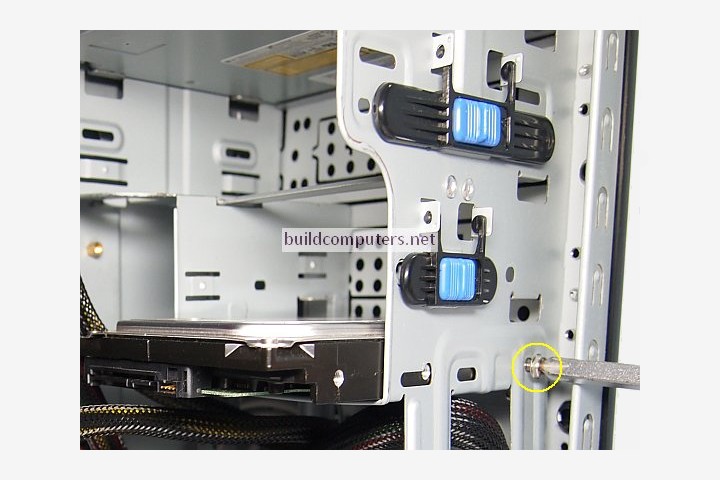
A desktop hard disk drive belongs inside a 3.5" drive bay within your computer case.
With its SATA connectors facing outwards, slide the hard drive into an empty bay. Align the hard drive's screw holes with the bay holes, then secure your hard drive inside the bay with screws or toolless fasteners:
A SATA hard drive has two L-shaped connectors: The larger connector (on the left) is the power connector while the smaller one is the data connector. See image below:
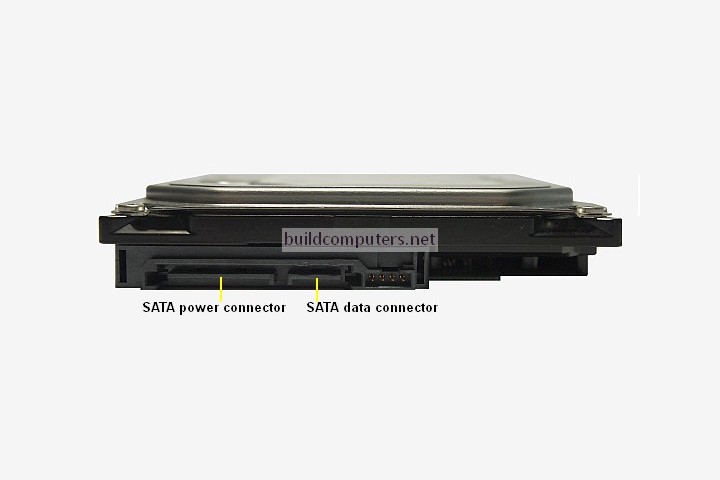
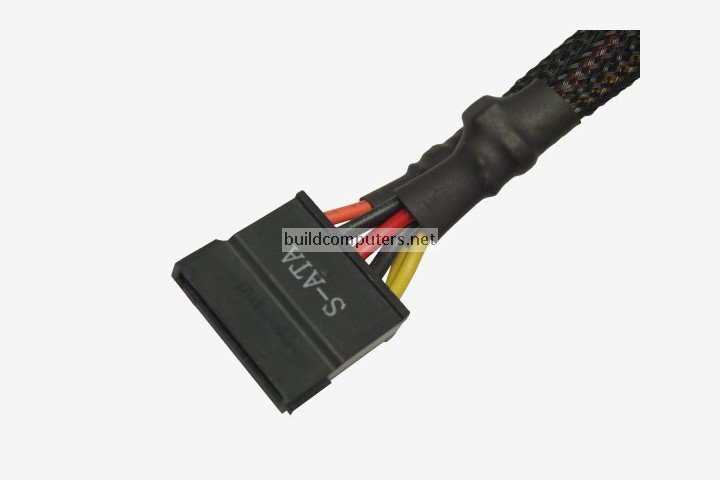
Connect a SATA power cable (see image below) from the power supply unit to the hard drive's power connector. SATA power cables are notorious for coming loose so be sure to insert it fully into the connector.
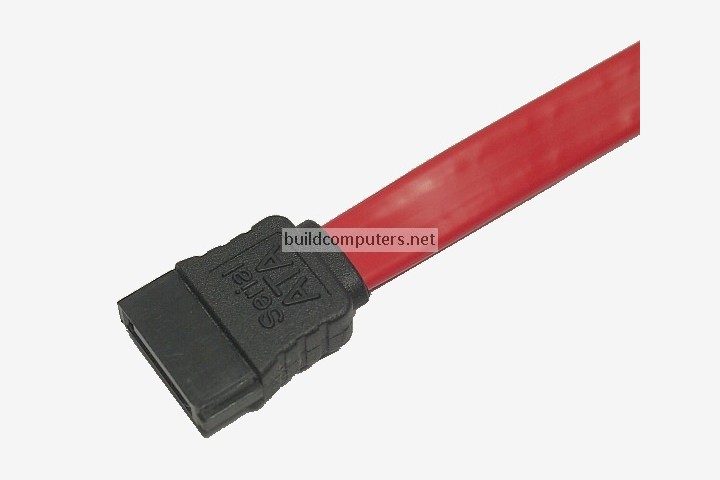
Connect one end of a SATA data cable to the hard drive's data connector. Here's how a SATA data cable looks like:
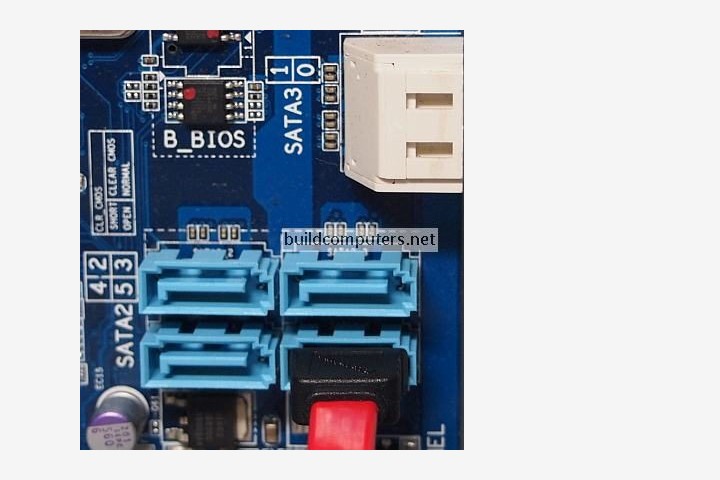
Plug the other end of the SATA cable into a SATA connector on your motherboard (see image below).
Most modern motherboards have both SATA 2 and SATA 3 connectors. On a motherboard, SATA 2 connectors are often labelled as SATA2 or SATA_3G, while SATA 3 connectors are tagged as SATA3 or SATA_6G. As always, your motherboard manual is your best friend when learning how to install a hard drive.
In addition, most motherboards will also color-code the connectors to help you differentiate them. In the image below, SATA 2 connectors are blue in color while the SATA 3 connectors are white.
While SATA 3 motherboard connectors are backwards compatible and works with SATA 2 hard drives, save them for your SATA 3 drives (especially solid state drives).
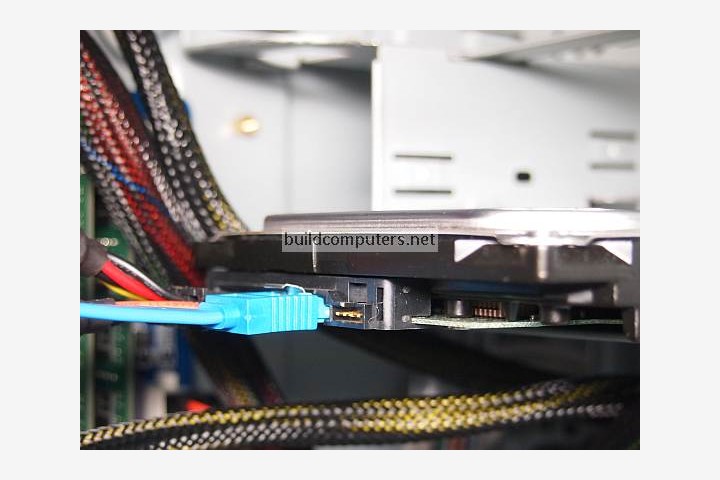
Once you are done installing a hard drive, it should end up looking something like this:
NEXT: Installing a DVD Drive
HOW TO BUILD A COMPUTER
- Should I Buy or Build a PC?
- Parts to Build a Computer
- Installing a CPU Processor
- Installing a CPU Fan
- Installing RAM Memory
- Installing a Motherboard
- Installing a Power Supply
- Power Supply Connectors
- Installing a Hard Drive
- Installing a DVD Drive
- Installing a Graphics Card
- Computer Cable Management
- Computer Cable Connections

